< Blog /
How To Connect Google Analytics To Shopify
How To Connect Google Analytics To Shopify
June 2, 2020
Welcome to another Shopify tutorial. Today we’re going to show you how to connect Google analytics to your Shopify store.

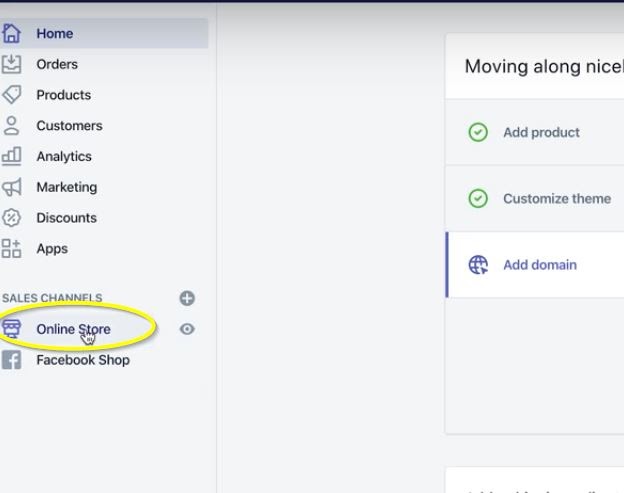
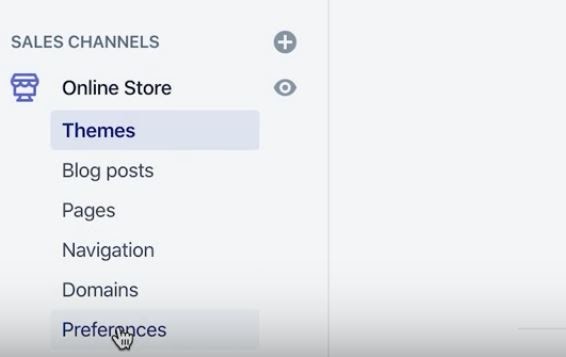
Once you log into your Shopify, in your Admin section, you want to click on Online Store and then go down to preferences.
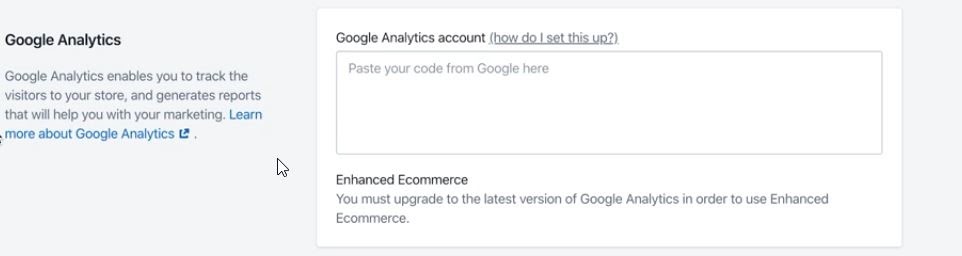
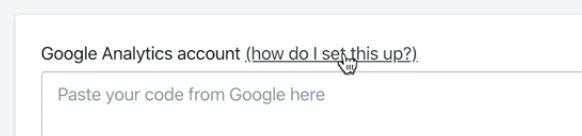
Inside of preferences, you will see Google Analytics is the second section.
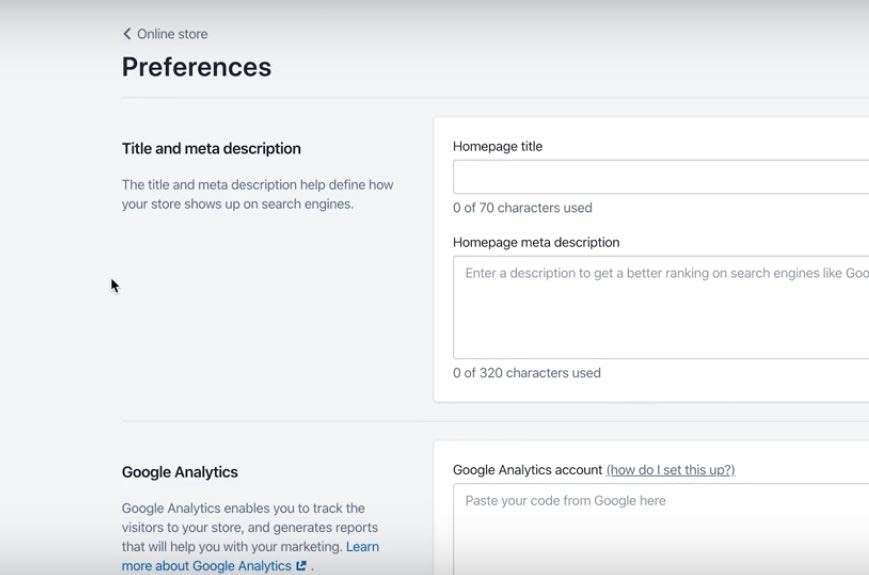
If you want a full written description on how to do this, you can click on “how do I set this up?” and that will answer a lot of questions, if you have any, to set this up.
However, we are still going to walk you through this. So the first thing you want to do is create a Google analytics account. To do that, you want to go to analytics.google.com and then go through their process of creating one. This is necessary to connect the analytics to your Shopify store. Once you have that created, you can then proceed to do the following steps to get it connected to Shopify.
Since we already have an account, we are going to show you how we would do it. We are already logged in to our Google analytics account. Once you log in, this is what you will see as a dashboard.
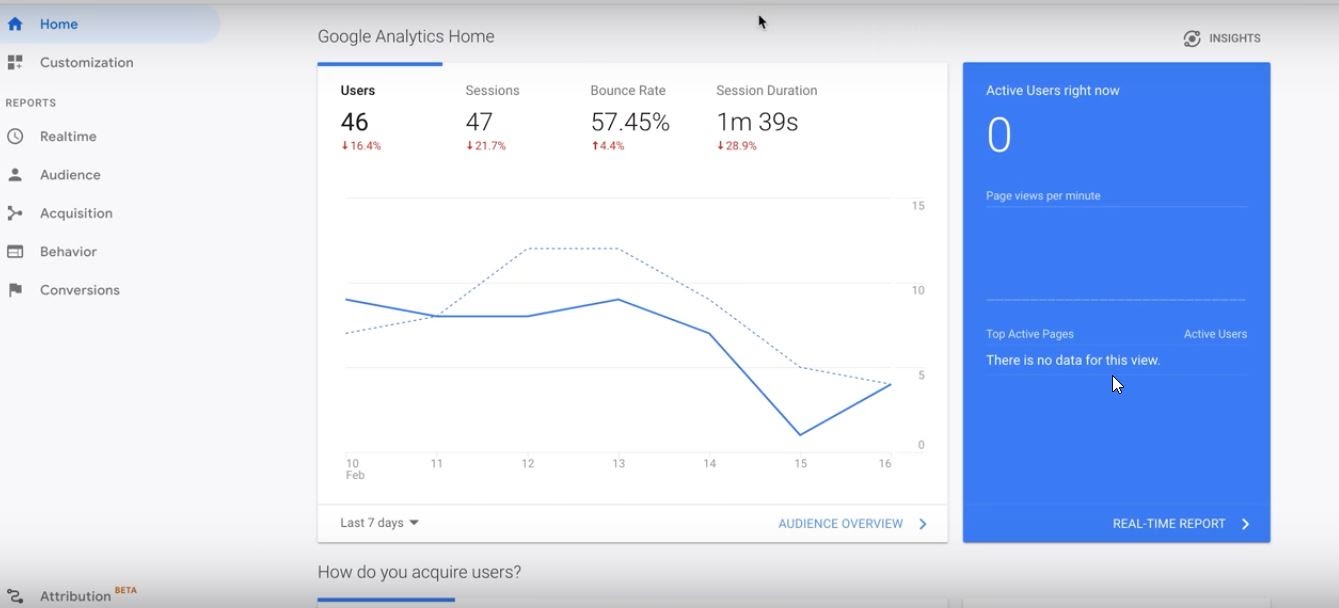
Anytime you have a brand new website, you definitely want to add a new property/website to your Google analytics because your new website has different data.
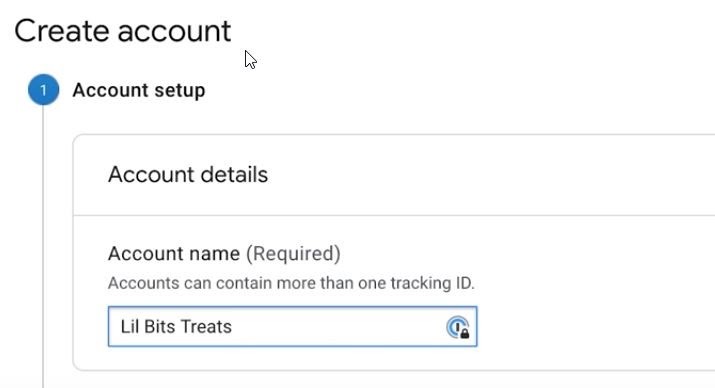
First, you’ll want to go to Admin in the bottom left hand corner and then Create Account on the next page.
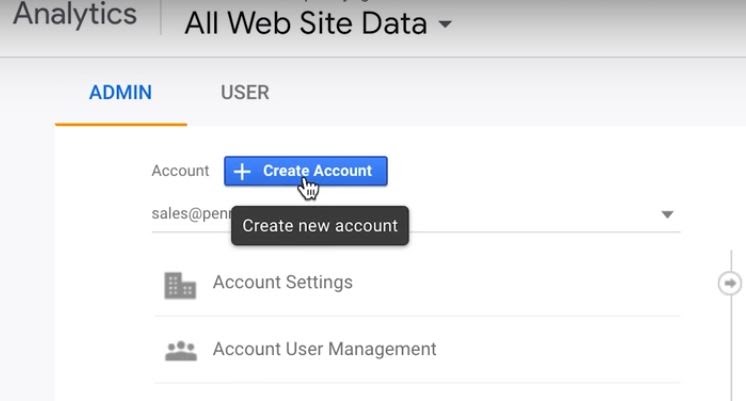
In the Account name section, you will put in the name of your new website.
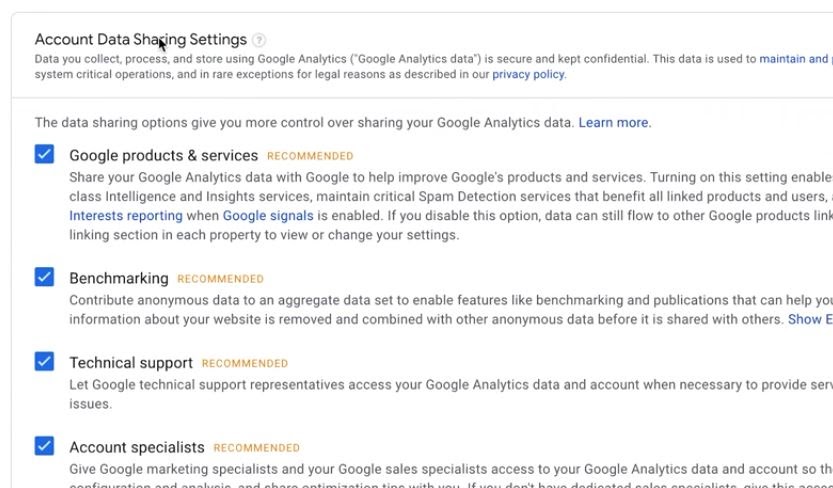
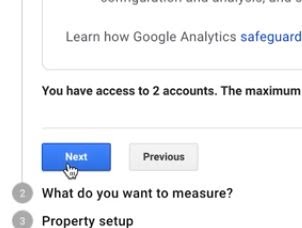
In the next section, you will want to leave everything check marked because they are recommended and then you’ll hit next.
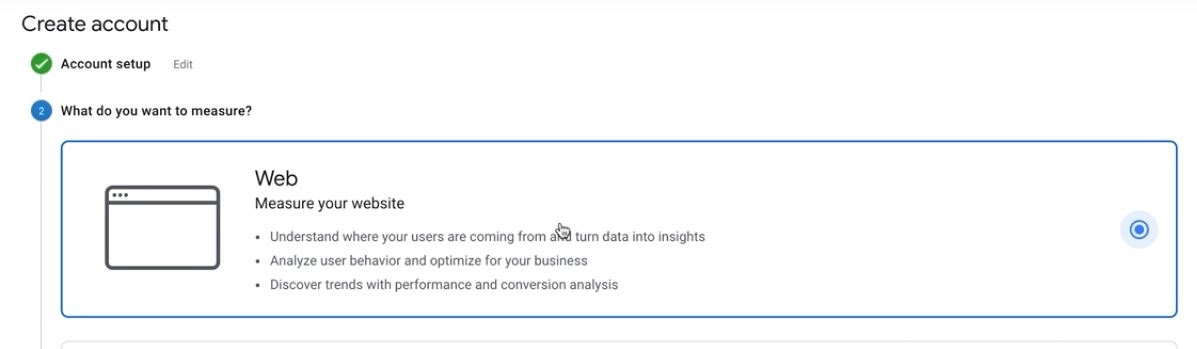
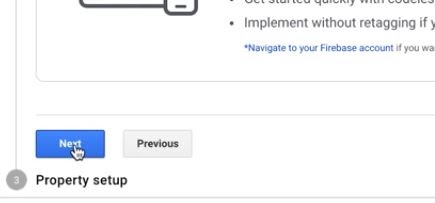
On the next page, for this example, we do want to measure with the web because we don’t have an app, so we will leave that one selected. Go to the bottom of the screen and click Next.
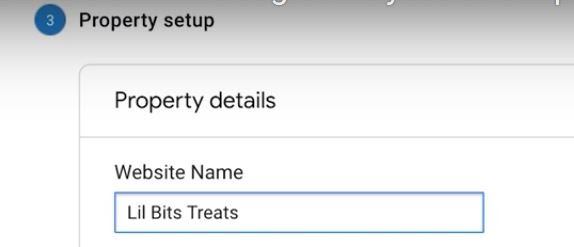
The next page, under Property Setup, it will ask for your website name which you will type in there.
Under that you will want to put in the Website URL. With this, you want to make sure you put in your real URL, not the Shopify store URL.


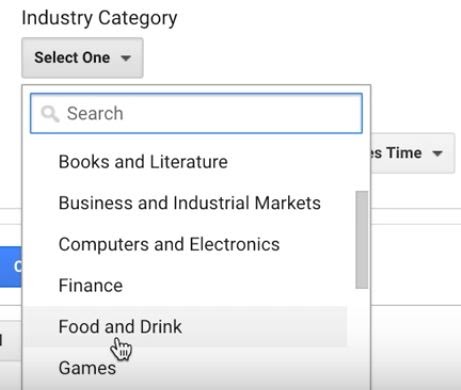
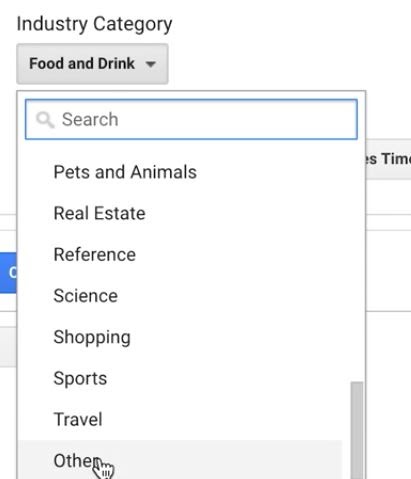
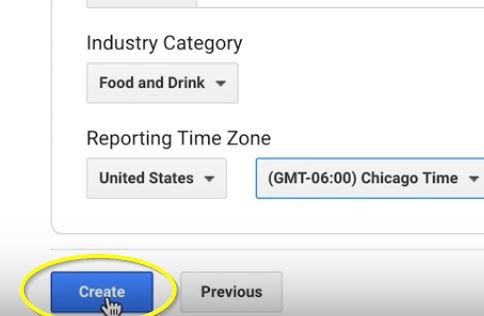
You will then select your Industry from the drop down menu under Industry Category. If you don’t find your industry, you can just select other.
Then select your timezone in the Reporting Time Zone section. For us, it will be the Chicago Time Zone. Then hit create.
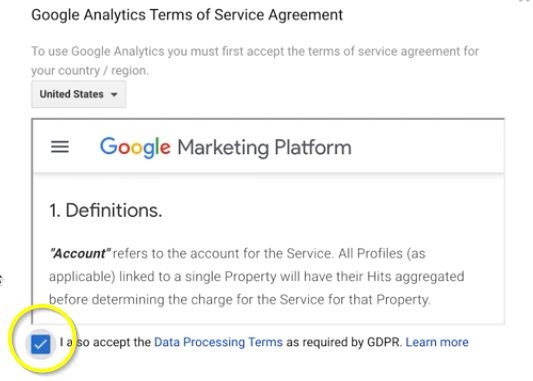
After that it will give you the Terms of Service Agreement. You want to make sure that you read through that, and once you have, you’ll want to check the “I also accept the Data Processing terms…” box.
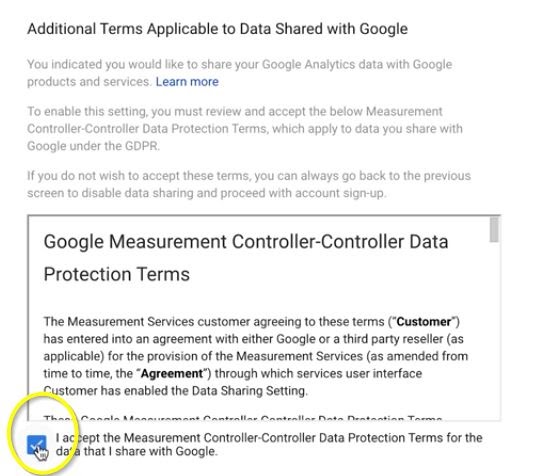
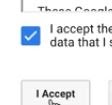
There is a second set of terms underneath that you’ll want to make sure you read through and then check the “I accept the Measurement Controller...” box underneath that. Finally click the blue “I Accept” box at the bottom of the page.
Once you have all of that stuff set up, it will go straight to the tracking code.
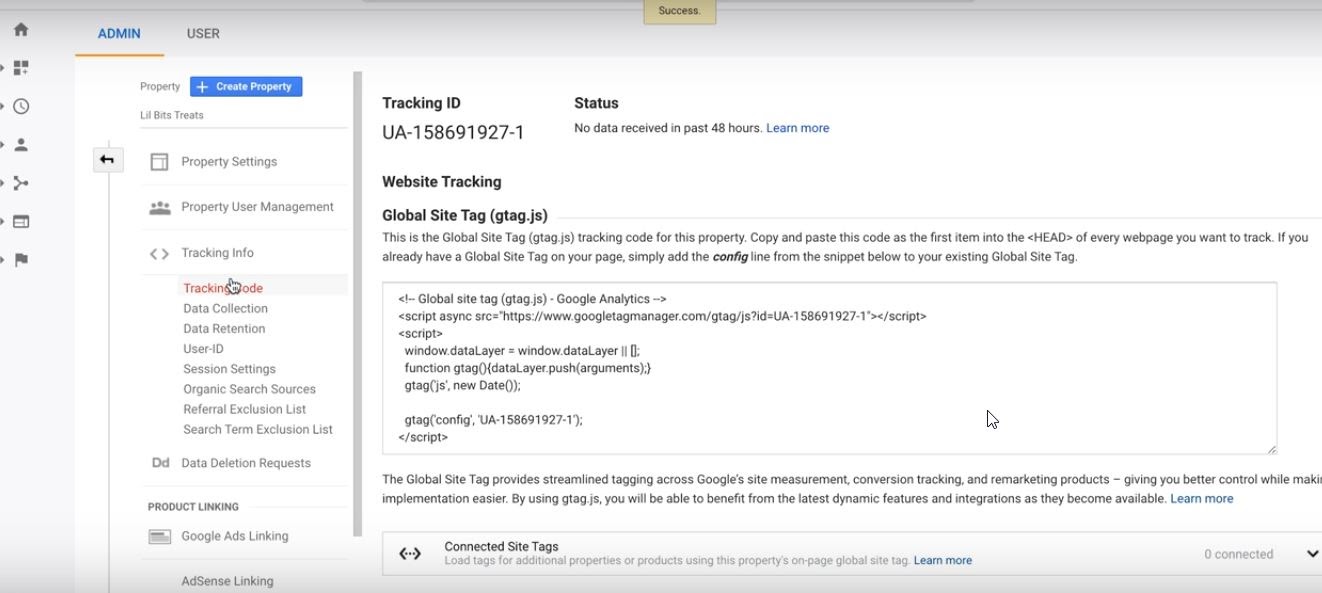
It will show your Tracking ID, Global Site Tag, etc. The Global Site Tag is what you will need in order to put it into Shopify.


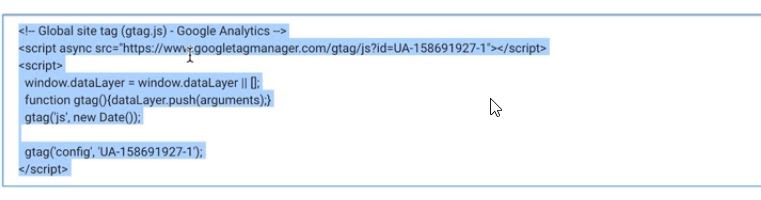
In order to connect your new Google Analytic to your Shopify account, you will need to highlight all of the Global Site Tag code and copy that code. The shortcut for copy is CTRL + C.
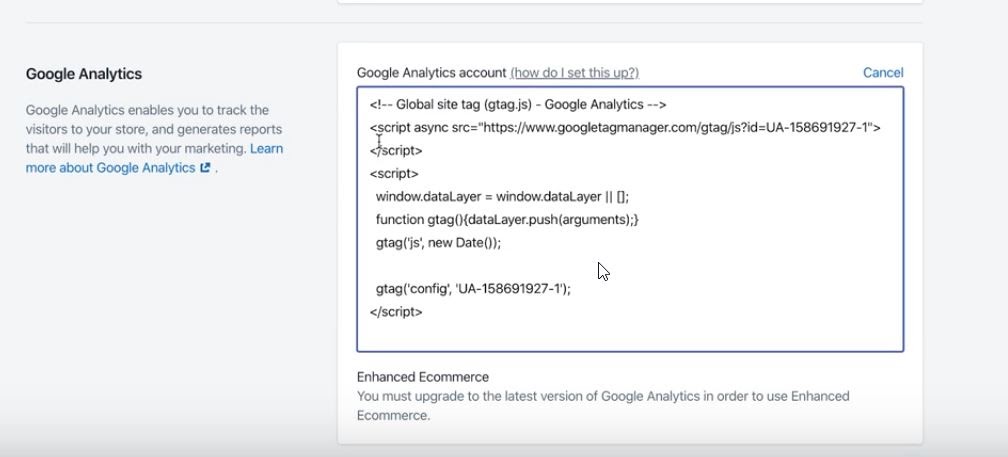
You will go back to your Shopify store, in your preferences, and paste that code into the Google Analytics box. The shortcut for paste is CTRL + V.
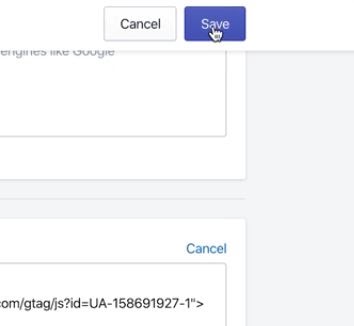
You will then click Save in the upper right hand corner.
Ok, now that you have the Google Analytics set up right here, you do want to make sure to click the Used Enhanced Ecommerce box.

Once that is checked, you’ll go back up to the save button in that upper right hand corner. This is going to allow us to track a little bit more data than just people landing and visitors and things like that. You’ll actually be able to track conversions and sales.
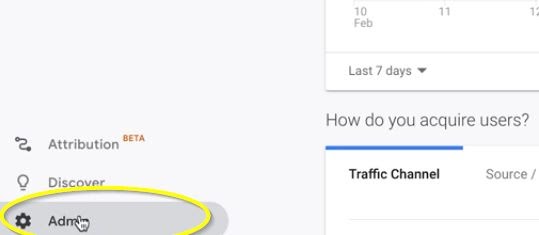
Now you’ll want to head back to Google Analytics and then go to Admin at the bottom right hand corner.

Then in the last column you will see Ecommerce Settings. You’ll want to click on that.
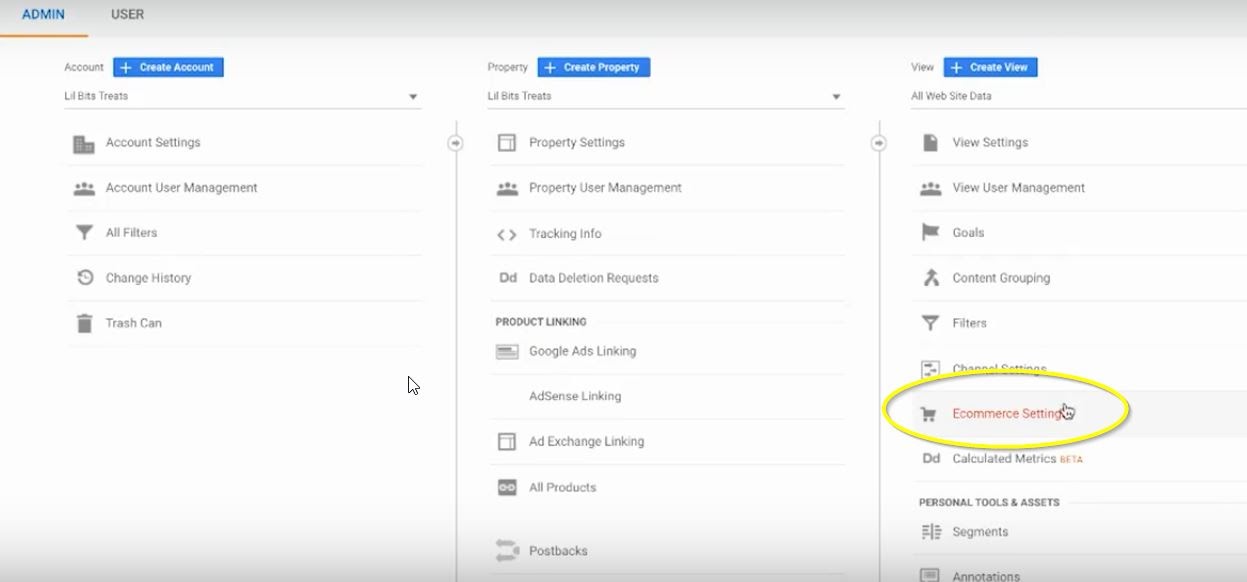
In that next page, you will want to make sure that the button Enable Ecommerce is toggled to On.
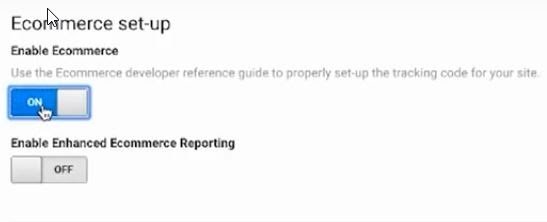
Once, you do that, the Enable Enhanced Ecommerce Reporting section will pop up and you will want to turn that to On as well.
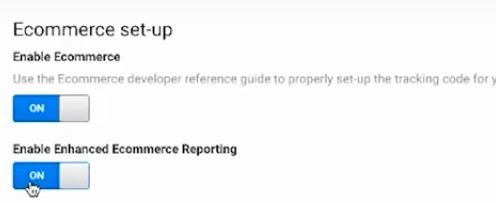
Then click save at the bottom of the screen. And that’s it.
If you want to make sure that you’ve installed it correctly, there is something called a Tag Assistant by Google that is a Chrome extension. You’ll want to install that.
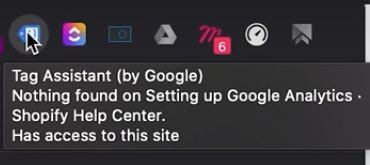
Once it’s installed, you’ll want to click on that little extension that looks like a sideways smiley face.

Inside of Chrome you will see whether the Google Analytics tag is being fired on that particular website. If it’s not being fired and you’re testing it with the Google Tag Assist, then there is something wrong. You maybe put the incorrect URL or maybe something got messed up while you were copying and pasting or something like that.
It’s a pretty simple, straight forward process and it will give you data in addition to what Shopify already gathers. It will actually give you that data inside of Google Analytics which is super helpful.
Hopefully this blog was helpful for you. We have a bunch of tutorials for Shopify still coming out so if you have any questions or suggestions on what type of video we should create next, please go comment on the YouTube video linked below.
If you would like to watch our How To video on this subject, you can watch it here. Make sure to like the video as well as like and subscribe to our YouTube Channel and hit the bell so that you don't miss out on any of the content we put out every single week.
Are you interested in learning more about Shopify and how to use it in your business to generate more leads and sales on auto-pilot? Apply for our Leads Accelerator right here.

We'll take the time to understand your vision and goals, and work with you to develop a customized plan to help you succeed. Let's work together to bring your brand to life and drive success.


We believe every clothing brand deserves an online marketing strategy that works
Schedule Strategy Call