< Blog /
How to Install the Facebook Pixel on Your SITE 2021 - QUICK and SIMPLE Method
How to Install the Facebook Pixel on Your SITE 2021 - QUICK and SIMPLE Method
April 23, 2021
Hey, what's up, guys? Welcome to the BitBranding channel. You're going to learn the easiest and most simple way to install your Facebook Pixel. We’re also going to show you the one Chrome extension that will save you hours of time to make sure that your Facebook pixel is installed correctly.

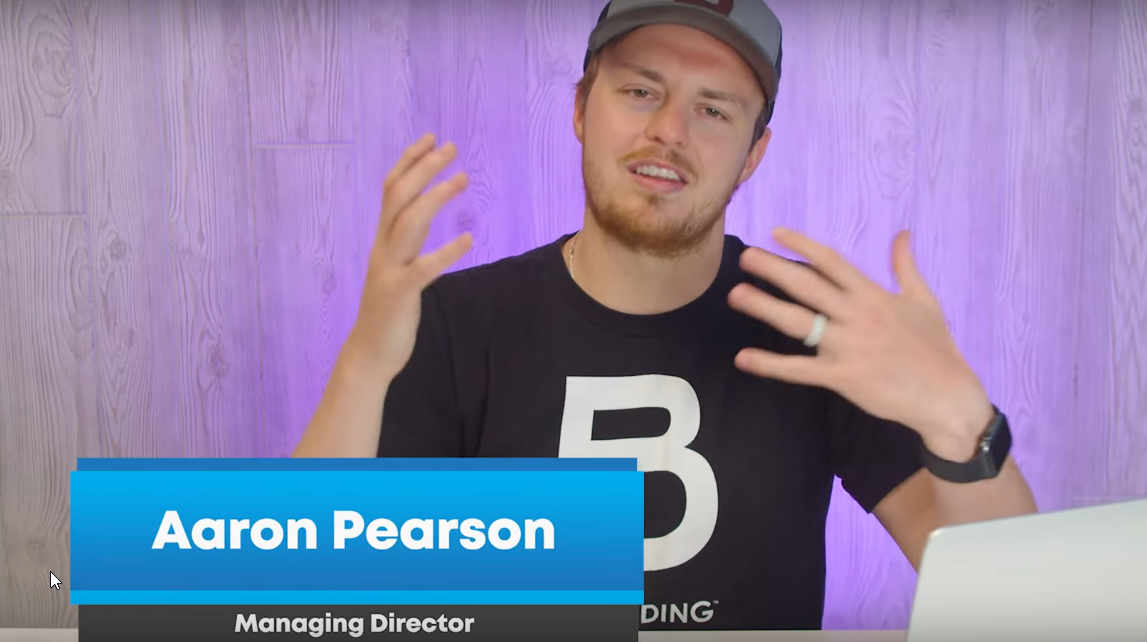
Hey ya'll, before we get started, I just want to say welcome to everybody new and for those who are returning, my name is Aaron. I'm one of the co-founders here at BitBranding.
We've been helping frustrated store owners since 2015 become those impactful store owners through tutorials, tactics and strategies. And if you want to support the YouTube Channel, we truly appreciate it. Just subscribe down below and make sure that you hit that bell so you don't miss out on any of our content.
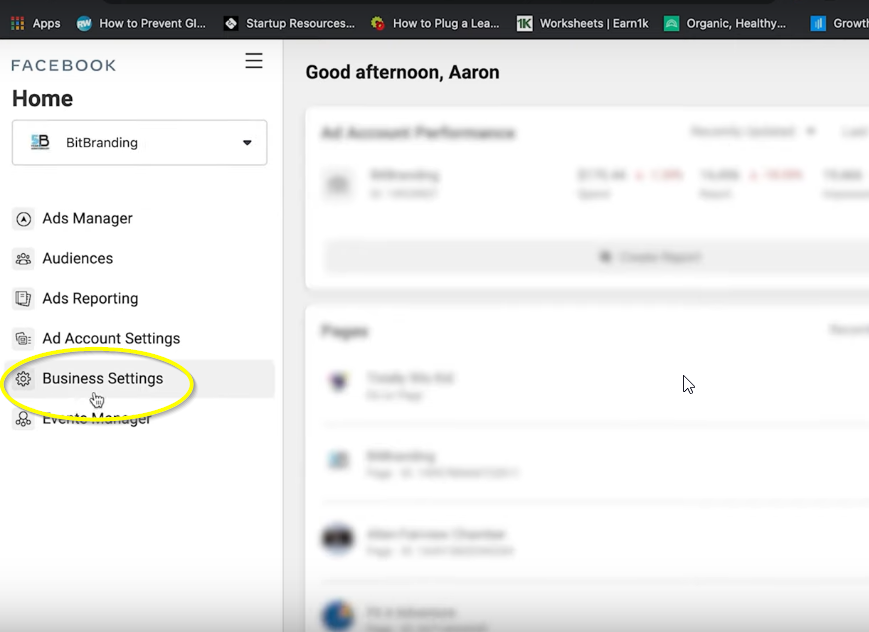
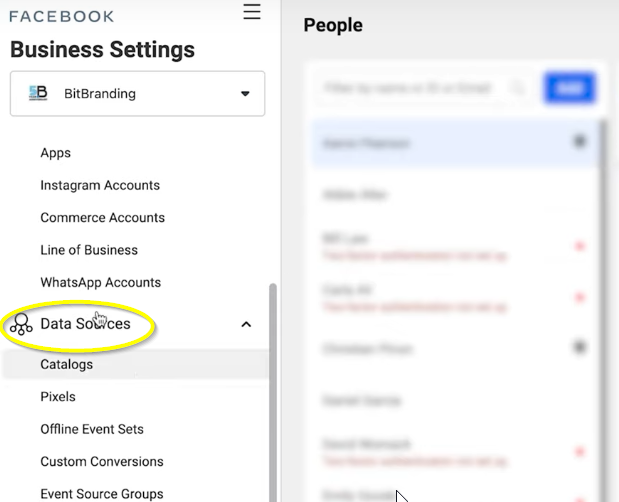
Ok, let's jump into this. The first thing you want to do is go to the Business Manager. So go to business.facebook.com and log into your Business Manager account.

Then go over to your business settings.
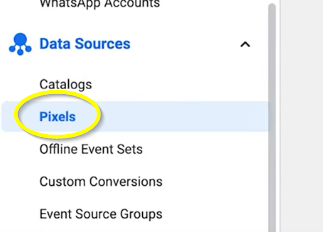
You are then going to go to the data sources on the left hand side, and then pixels.
So we had to blur these to protect the privacy here, but at the top of that first column under Pixels, you should see an Add button. You’ll want to click that.
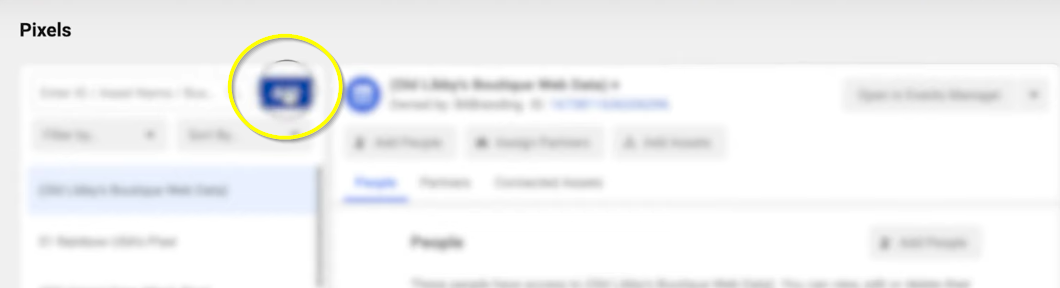
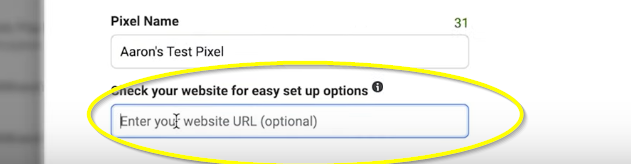
So we're going to create a new pixel. We’ll call this Aaron's Test pixel. Next, enter the website URL. This will matter for you.
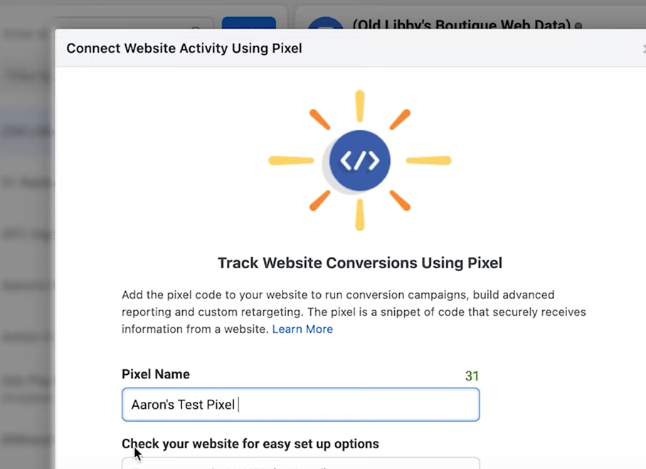
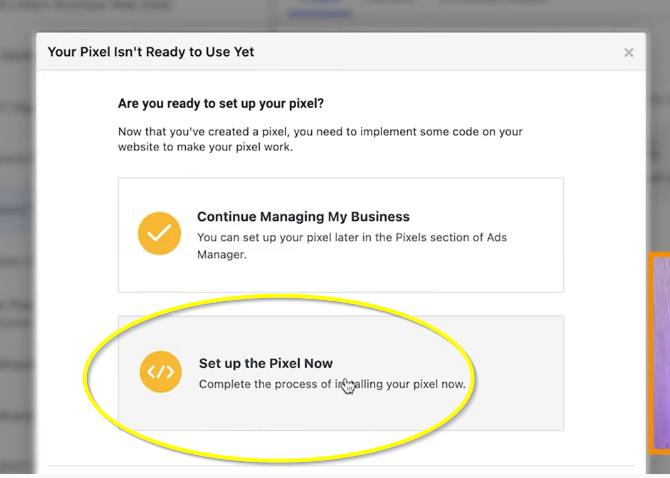
You want to select Set up the pixel now.
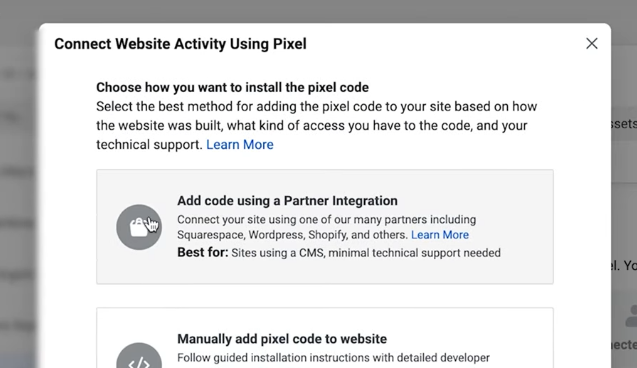
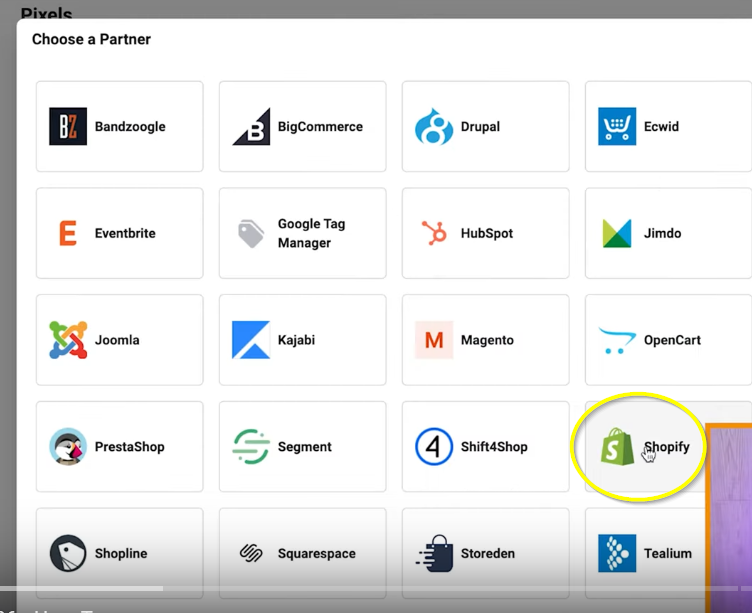
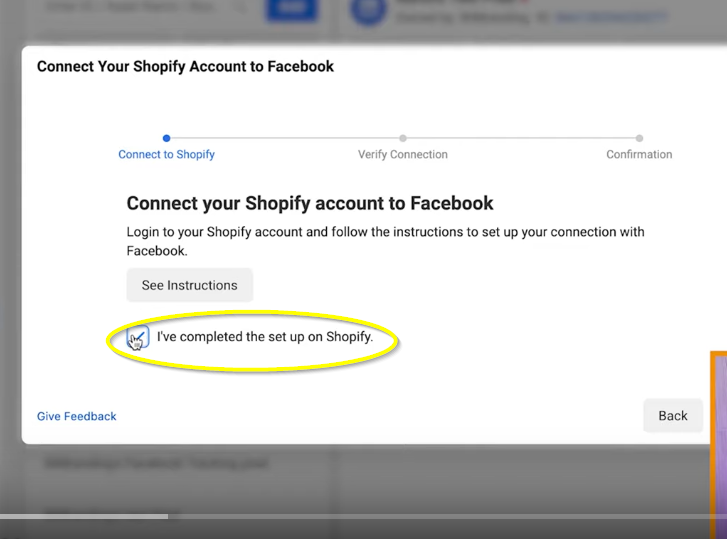
Now, what you want to do here is to connect using a partner integration. So the important thing here is that we know we're going to Shopify. Shopify is a partner here.
On the next page you’ll want to check the box next to “I’ve completed the set up on Shopify.”
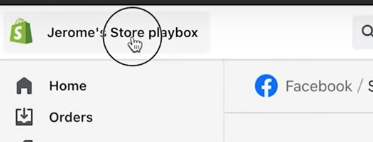
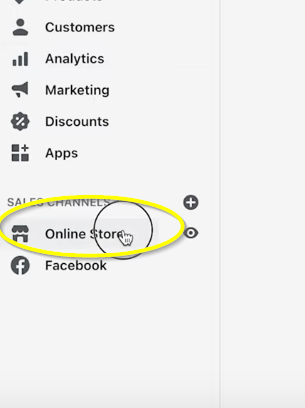
Now go over to Shopify and you will go to your website and log in to the main page, go to the online store, go down to preferences.
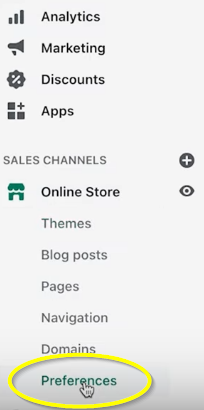
Scroll down until you see the Facebook pixel, click setup Facebook.

Yours will pull up here, it may take a little bit. For the purposes of this blog, we’re going to connect it to a different test account that I have, which is Aaron's Real Estate.

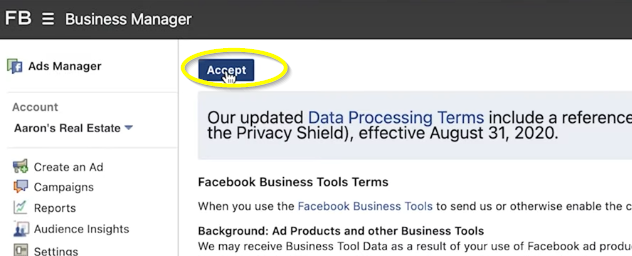
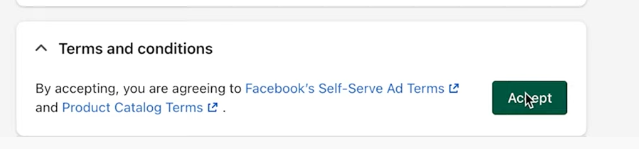
You're going to view and accept terms. You do have to open this. You do need to scroll to the bottom and then Click accept at the top.
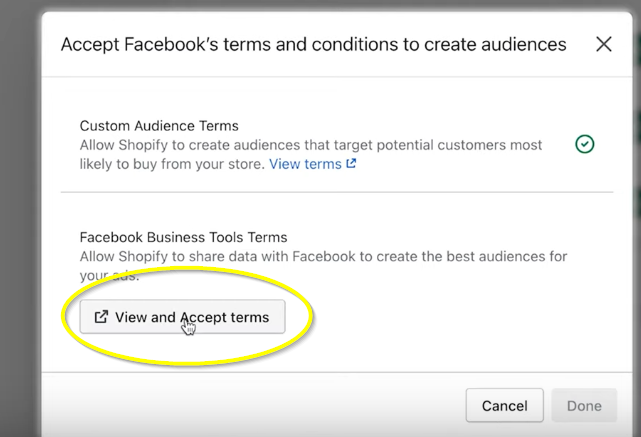
Next click done.

So now you want to make sure that you connect to a page that you have here. This would obviously be for your business page.
The ad account will take a little bit of time to set up. Obviously, you've seen that here. We used a different ad account, but that is where you would go to see that. You want to also make sure that your Facebook business page is set up through your business manager as well and then go and connect it. It should already pull up here because you are the person who's always had the lead on your page, meaning like you're the first person to create the business account. So it's going to bring all of those pages.
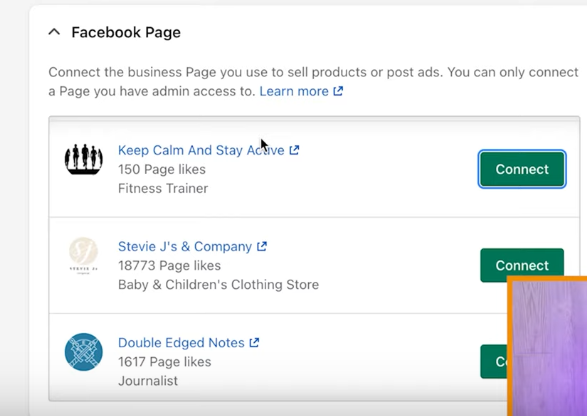
So we connected to Aaron's Real Estate.

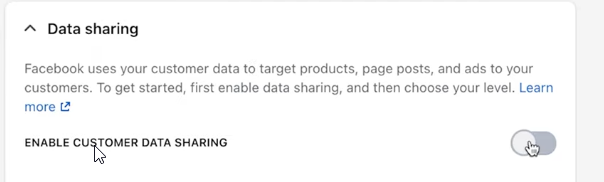
You want to make sure you enable customer data sharing. Facebook uses your customers data to target product pages. This is basically what's going to give you access to other pages across the Internet that allows the pixel to work correctly.
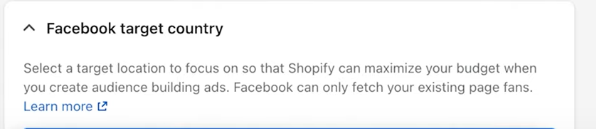
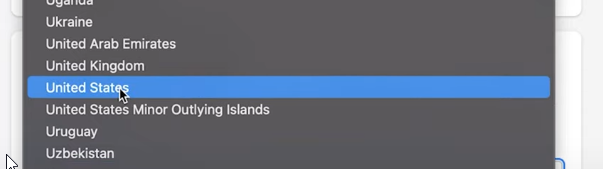
Next is target location. We are in the United States. You can choose whatever country you are in. Just make sure it's accurate. This is important
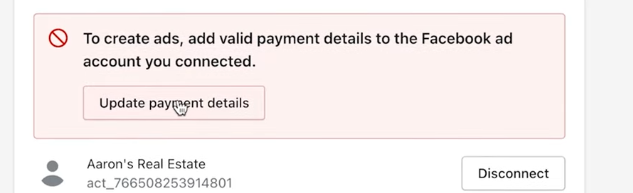
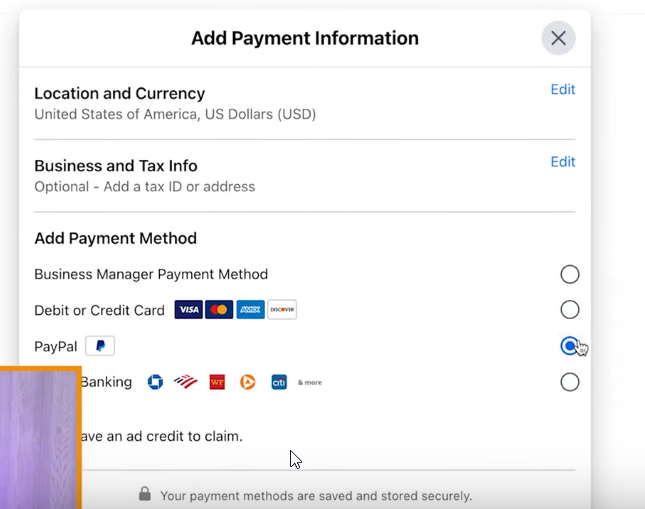
You may also need to add or update your payment details. Nothing to worry about here. You would need to add your card to be able to run ads if you're going to reuse that. It's super easy to go there, to update and add your card
Go ahead and click accept.
So once that is done, it would finish the set up and you're good to go.
So one thing that you need to remember about setting up a pixel is that you need to follow the new iOS 14 update. This is new as of 2021 that we'll show you guys a little bit later. This has to do with the iOS 14.5 update. It may have moved out at this point. They keep updating when that's going to happen. But this is supposed to happen as a new timeline of 2021. So, early of 2021 this is going to roll out.
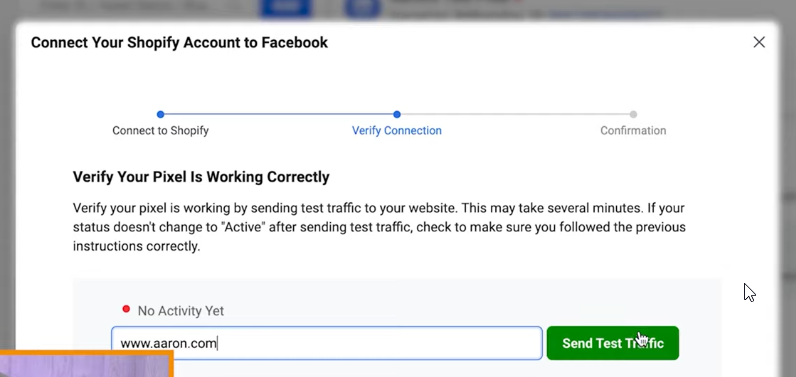
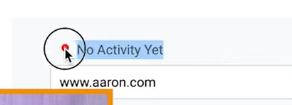
Okay, so before we jump into the next step, which is to create your Facebook pixel, you would want to put your URL here, which is www.aaron.com and test the traffic. If it's the correct URL, the correct page, then it's going to test the traffic. It's going to open up a page and it will tell you right here with a green light that this is an active page. After that, you click done and it's all set up.
So that is the Facebook pixel side of things. However, before we jump back into the Shopify side of things, make sure that it's all connected correctly, make sure that the pixel is installed.
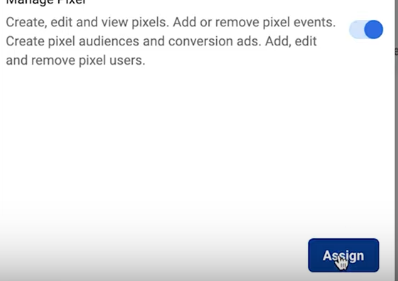
Most people miss this one thing that is wasting them a lot of time because they don't know what to do next because they’re not assigned to a person. So even though this is in your business manager, you still have to assign a person. You can see here my Aaron's test pixel, add people.

I need to put myself as the person who can view the pixel and assign them.
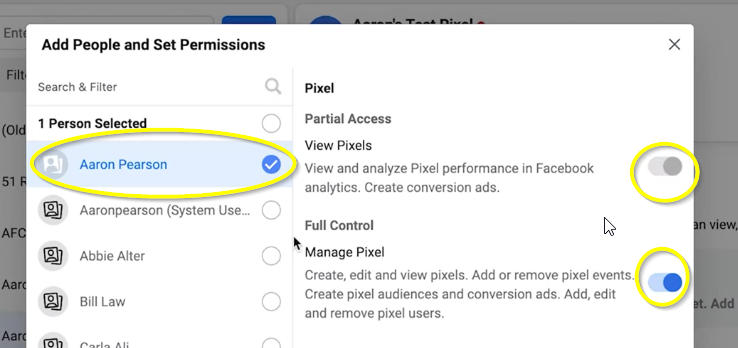
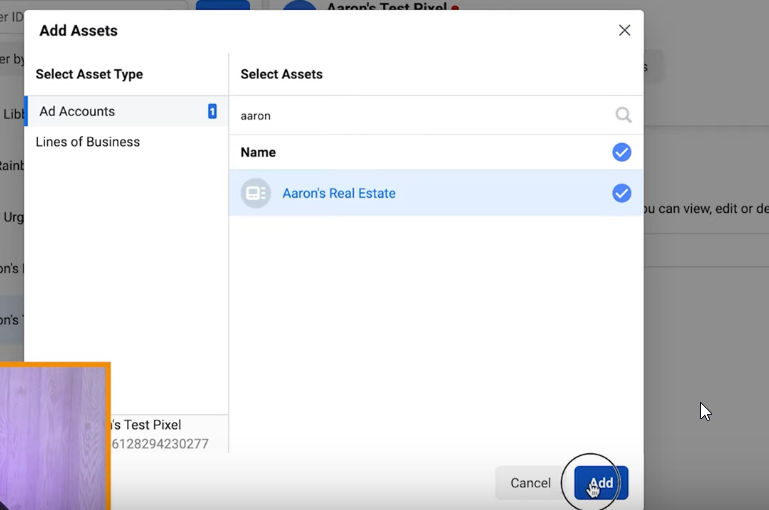
Another thing you want to be able to do is assign the assets meaning the business page. So you'd want to search for your page. We did Aaron's real estate, but you would search for your business name, click add, and then there you go.
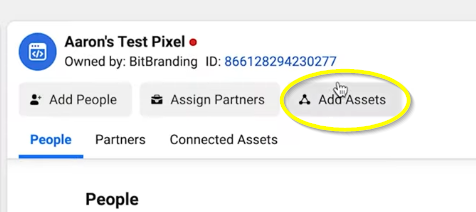
So now this person, Aaron, is able to manage the Facebook page and the pixel. Again, for some people, it's very easy for them to set up the pixel, but you need to do it correctly and you need to assign yourself to it so that you have access inside of your own business manager.
Now that you have a Facebook pixel installed, make sure that you go over to Shopify and make sure you check everything out. We’re also going to show you one Chrome extension. But now that the ads are set up, you have everything going. You need to start creating ad campaigns. And we have a playlist for you. You can check it out here and it walks you through how to set up your first ad campaign, how to scale and even some case studies where you can glean some knowledge off of.
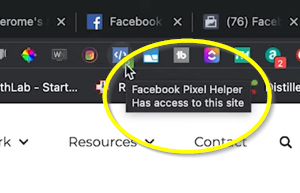
All right. Last but not the least, head over to Shopify and install the pixel, then test it to make sure that traffic is working well. So, you would want to go to your website, make sure that it's working, that you can see the pixel installed and you know how you do that? You do that with one super simple Chrome extension. It's called a Facebook pixel helper. What is it going to look like? I'm on our BitBranding site right now, because we'll use a test site. I just want to show you what it looks like. These are our chrome extensions or my chrome extensions right now. But you see, this Facebook pixel helper, all you need to do is go to Google Chrome extension, the Facebook Pixel helper. It'll pop right up. It's free, super easy to install. You click this button right there. You can see that it's a green bar here or a green box, and it will show you how many different things are firing or how many events are firing. We have two of them.
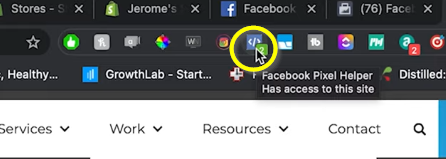
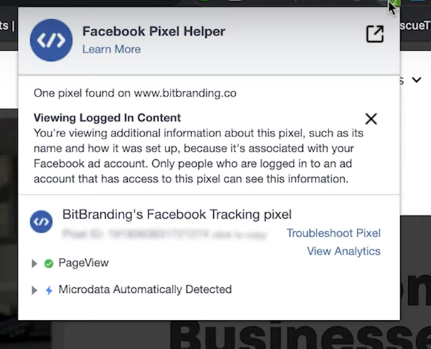
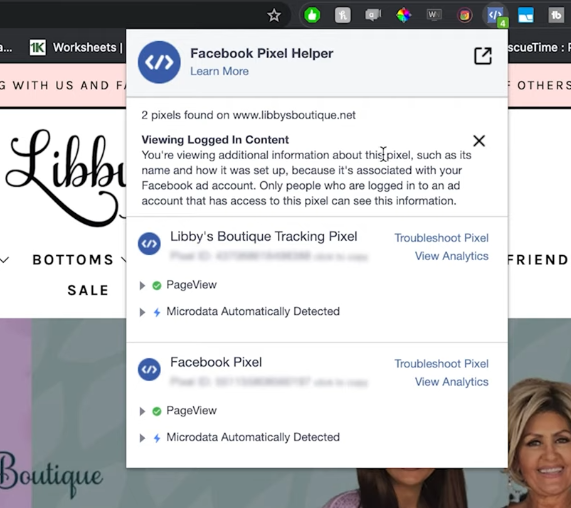
Basically all you really want to check at this point is that it is firing. You can do this with your competitor’s sites. So let's just say for a client's site. It works for anything, doesn't have to just be your site, but you can also check to see your competitors. So this particular site has four. They have four things that they're tracking on that site.
So the point here is just install that app. It's going to tell you very quickly whether it's installed correctly, if there's an issue or anything like that. And, you know, every time you log in, hey, it's got the green spot here. I know it's working.
All right, guys, thanks so much for reading. If you would like to watch our “How To” video on this subject, you can watch it here. We want to hear from you. What kind of products are you selling online? We’re really curious. If it's an awesome product, we want to know about it. We’re going to go in there to check out the site and potentially buy something. But we’re really just super curious so leave us a comment on the video.
If you enjoyed the tutorial, make sure to subscribe to our YouTube Channel and hit the bell so that you don't miss out on any of the content we put out every single week. All right, guys, we will see you next time. Take care.

We'll take the time to understand your vision and goals, and work with you to develop a customized plan to help you succeed. Let's work together to bring your brand to life and drive success.


We believe every clothing brand deserves an online marketing strategy that works
Schedule Strategy Call