< Blog /
How to Add Store Policies and Legal Pages to Shopify
How to Add Store Policies and Legal Pages to Shopify
November 17, 2020
In this blog, we will be showing you how to add store policies and legal pages on Shopify.
If you have watched our tutorials in the past, you probably own a business or are building a Shopify store. If you decide that you would like to have your store taken off your hands so you can just focus on the business, then you need to check out our Sales Accelerator Program.

This program uses online advertising to increase sales on your website. The link to the Sales Accelerator program can be found here.
As always, if you aren't subscribed to our YouTube channel, you can find it here. Make sure to hit that button and the bell so that you know when we drop more tutorials.


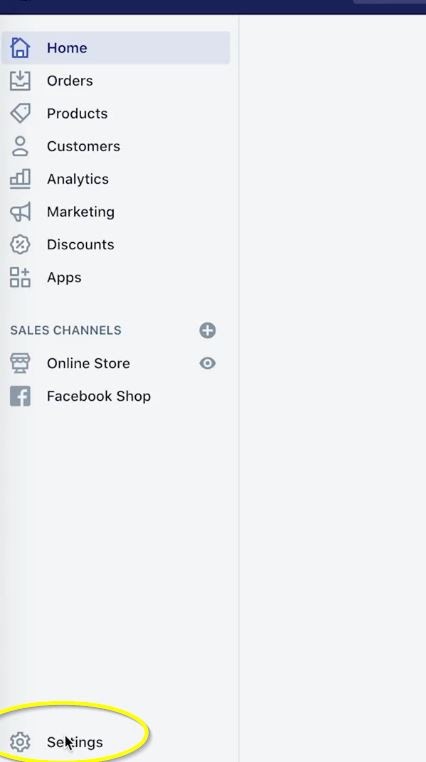
The first thing we want to do is on your Shopify dashboard is click on Settings in the bottom left hand corner..
From there, you’re going to go to the very last column, and the last item in the column where it says Legal.
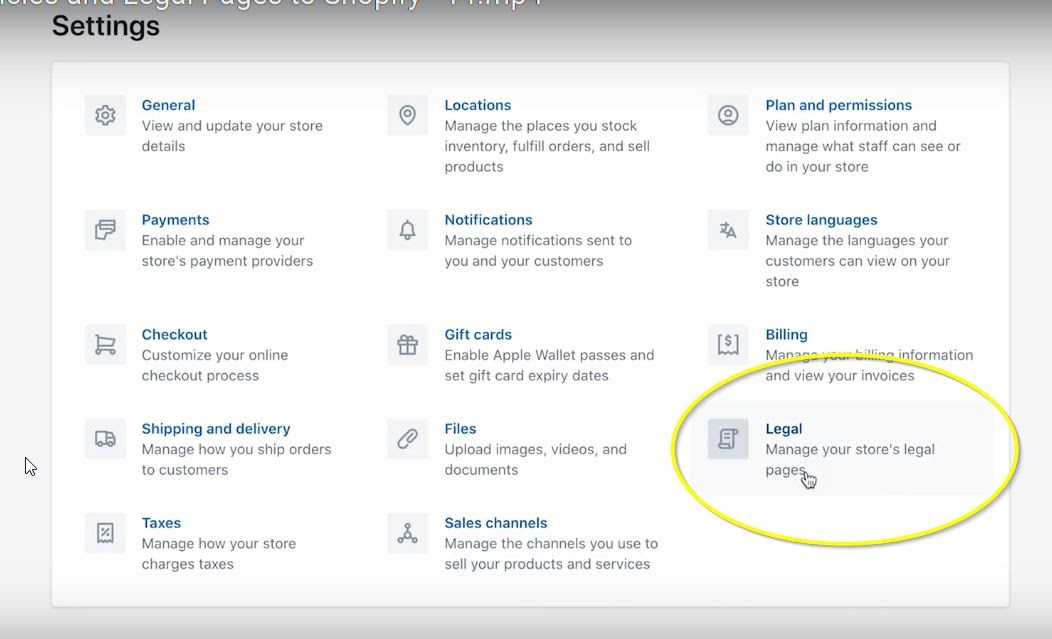
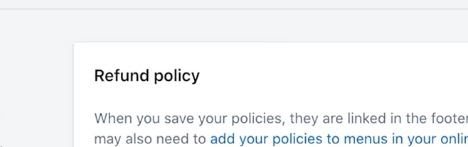
In here, you'll find the refund policy, privacy policy, terms of service and shipping policy.

Now, the easiest way to do this would be to hit on this button that says create from template.
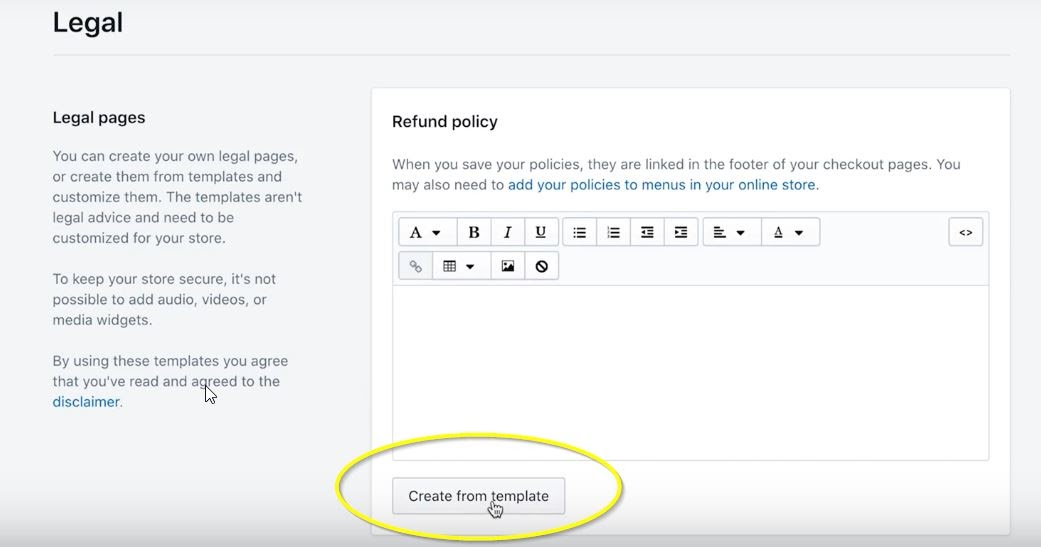
This would automatically fill out your policies in here and then it will actually add some of the information from your store, things that you have already set up, for example, your email address. You can see ours here, Hello@bitbranding.co.


In some cases you will also see your store address listed in here. So be very careful if you have a home address listed in your store. Maybe that's where you’re shipping your products from, but this will add that address as part of the legal jargon on some of these pages. So you definitely want to go over this and make sure that your home address is not listed in here.
A quick thing that you could do would be to click somewhere here on a text and hit ‘Command+F’ or ‘Control+F’, depending on the type of computer you’re using, and then search for your zip code or your city or anything with your address.
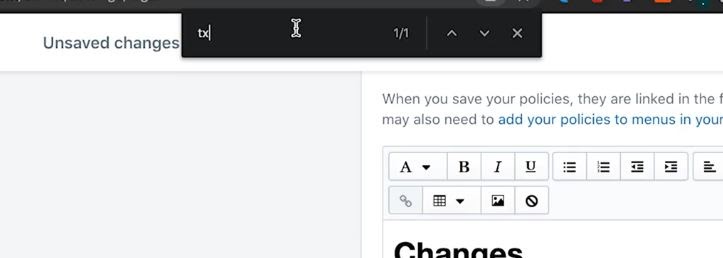
We can see that here under this template, which is the privacy policy. We have our full address listed in here.

Now, this is our office here at BitBranding, so we wouldn’t really mind having that on the privacy policy page. But again, if you are shipping from home and you don't want your home addresses displayed everywhere, then perform that command F function to search for your address and then you can just click and delete that.


You will also see that some of these templates are kind of generic. One thing you will definitely want to do is go over them and make sure that whatever information is listed in here makes sense for your page.
Next, you'll see that some things are capitalized and in brackets.

That's information for you to either add or subtract, depending on, again, the type of technology that you're using on your Website. Then some of the other things would be to insert any other type of payments that you accept if they're not listed within here. So some stores have, for example, aftership, where clients can actually go in and pay in installments. That would be something to include in here because that won't be automatically added to the privacy policy and different things like that.
So after you create some template and comb through those, make sure that you delete anything that has either brackets or make sure you add the actual information that they're asking to add in.
there.


Again, you always want to make sure that you read through some of these, make sure that all the information there is accurate for your store. After you create all those, the last one on the page is the shipping policy.

That shipping policy doesn't have a create from template, but it should be pretty simple and straightforward where you're just basically having a sentence or two about how long it takes to process orders, what's the lead time and things like that. So it could literally be just two or three sentences where you're talking about your shipping policy.
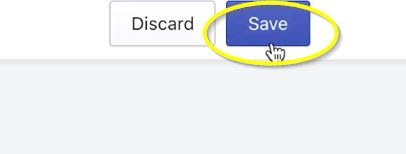
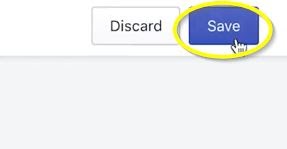
After you add all of those and have made your changes, you can click Save in the upper right hand corner.
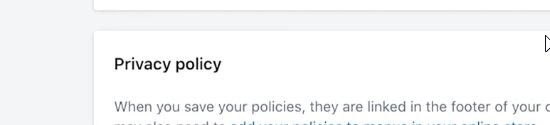
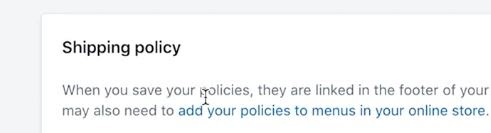
When you save these, these will automatically be added to your cart and check out pages, but they won't be added anywhere else on your store.
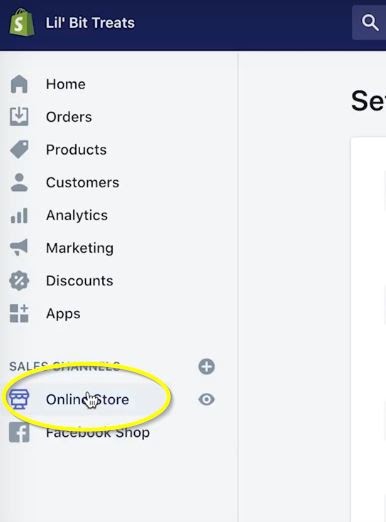
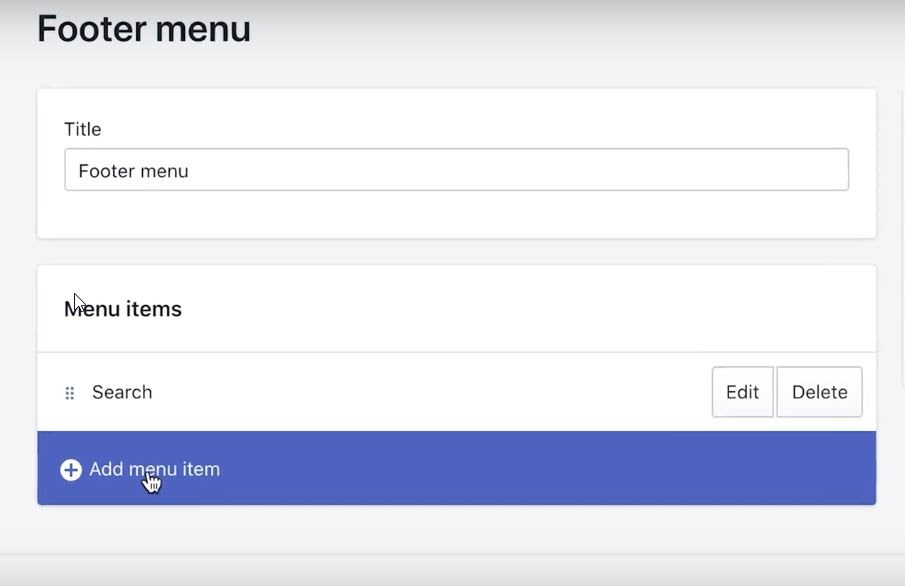
So you're going to go to Online Store on the left, and you want to add them to the Navigation.
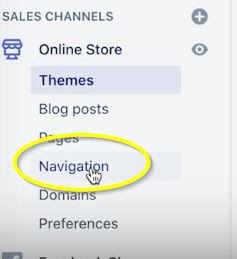
So under online store, you'll see Navigation.
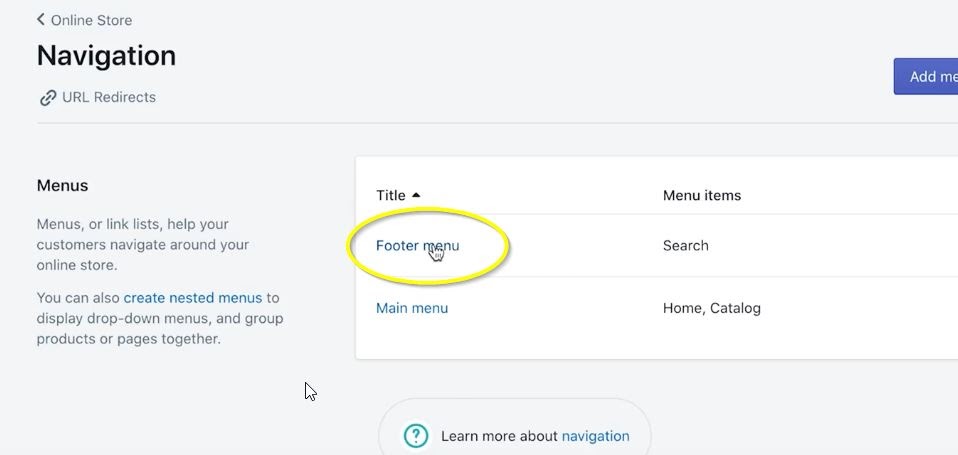
You’re going to add them to the footer menu and you can do that by clicking on the add menu item in the Footer menu page.
Next, click in the box that says Link and you're going to look for policies.

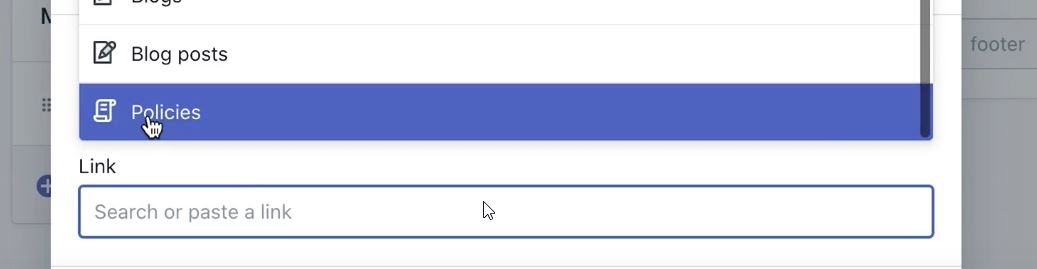
Once you add the policies, you should see all of your policies, we happen to have three of them. First, we are going to choose the privacy policy. Click add in the bottom right of the box.

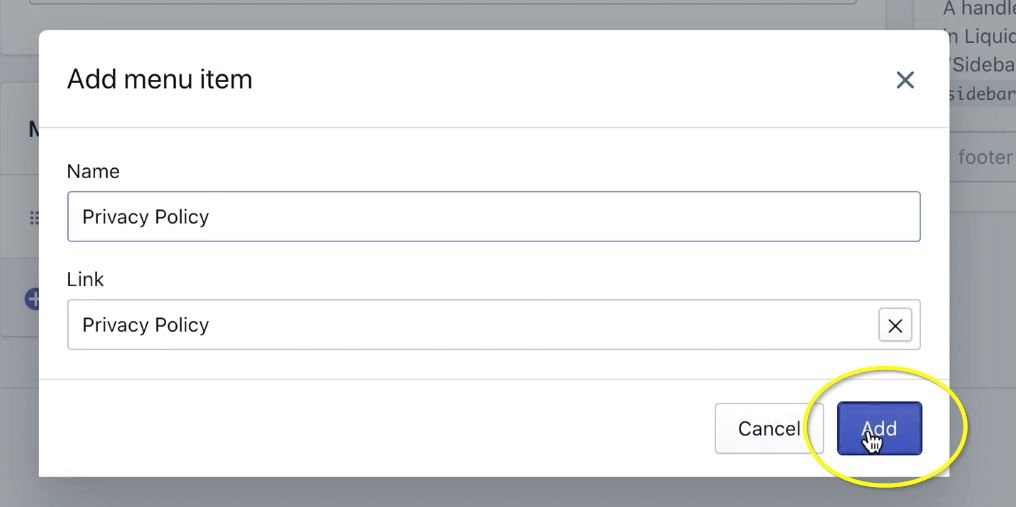
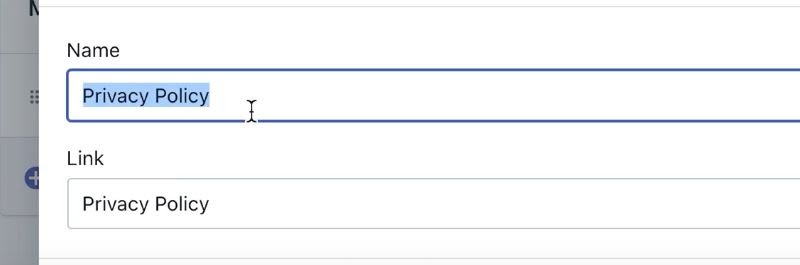
When you click on the link first, it will automatically give you the name so you don't have to change that.
You will then continue that step until you have all of your policies chosen. You will then click Save in the upper right hand corner.
Now, if you have an additional policy, for example, let's say that because of COVID, you need to add a health prevention page to talk about what are some of the things that you're doing to ensure your customer safety, then you can do that by just manually adding a page
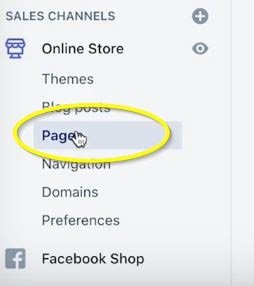
To do that, you will go to Pages under Online Store.
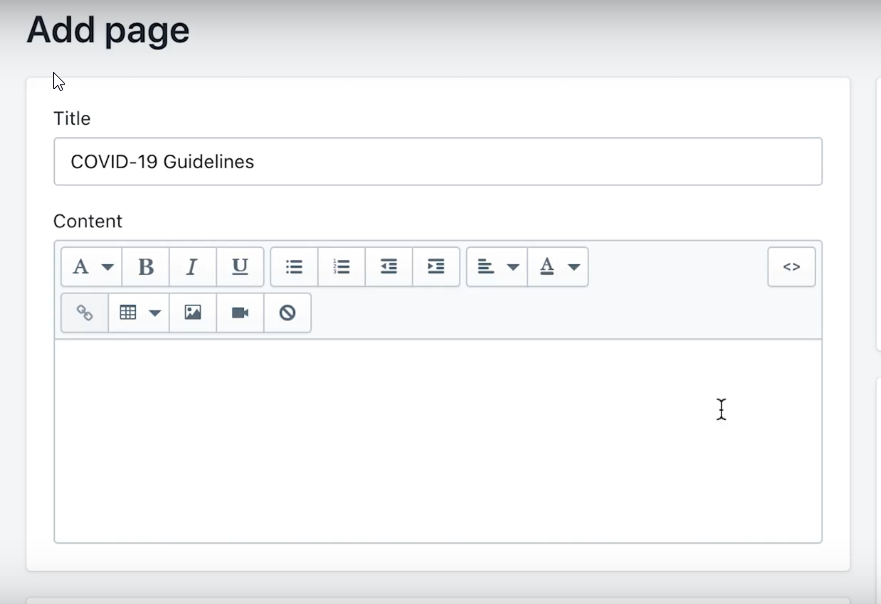
In here you can add a page by clicking on the Add page button in the upper right corner.

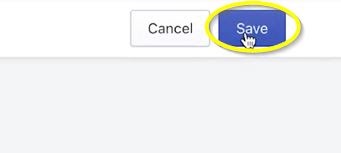
Once in there you can do something like COVID-19 Guidelines. Within the content box you would just write your text on what are your guidelines that you're using right now for COVID. When you’re done, you’ll want to click Save.
You will then want to go back to the Navigation and add it to your Footer like you did with your other policies.
And there you have it. That's how you can quickly add some privacy policies, guidelines, legal pages to your website and how to add them to the navigation.
That’s it for this tutorial. If you would like to watch our “How To” video on this subject, you can watch it here. If you enjoyed the tutorial, make sure to like the video as well as subscribe to our YouTube Channel and hit the bell so that you don't miss out on any of the content we put out every single week. If you have any questions about what we talked about or maybe you have a question that we haven’t discussed yet, leave a comment on our YouTube video so that we can address it for you.
If you’re interested in a streamlined approach to product sales then contact us for our Sales Accelerator program here.

We'll take the time to understand your vision and goals, and work with you to develop a customized plan to help you succeed. Let's work together to bring your brand to life and drive success.


We believe every clothing brand deserves an online marketing strategy that works
Schedule Strategy Call